Create Your First Woodland
Start by establishing a Woodland for an intuitive living area, and understand the natural hierarchy between Woodlands, Locations, and Items.
Page Overview
What Is a Woodland?
A Woodland is a primary organizing space in MononoMori. You can name it after broad real-life environments—such as “Home”, “Office”, “Studio”, or “Storage Unit”—to group your belongings naturally.
Two common ways to structure Woodlands:
- By Physical Territory: e.g., Home, Office, Vehicle.
- By Lifestyle Domain: e.g., Camping Gear, Photography Equipment, Seasonal Decor.
When starting out, choose whichever method feels most intuitive. There is no need to plan complex hierarchies right away; Woodland names and appearances can always be updated later.
Creating a Woodland
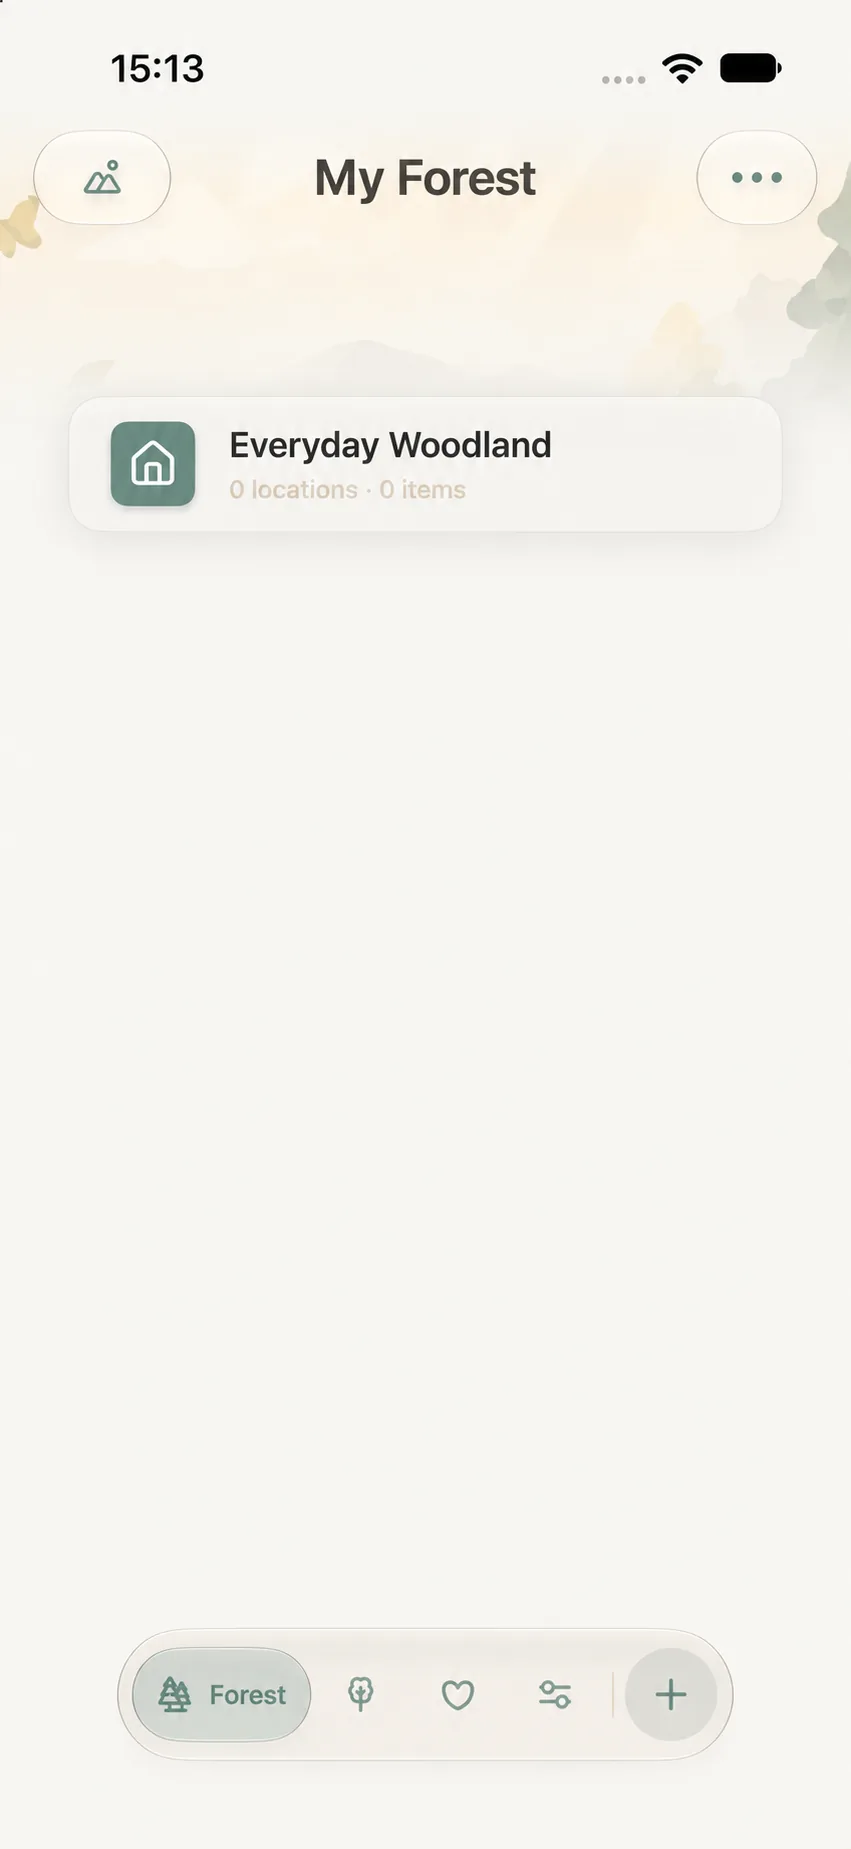
- Tap Forest on the bottom navigation bar to open the Forest view.
- Tap the ··· more menu in the top-right corner.
- Select Create a New Woodland (or New Forest).
- Enter a clear, easily recognizable name. The name is the primary required field.
- Optionally choose an icon, color, or cover photo.
- Tap Save in the top-right corner.
Once saved, return to the Forest screen to confirm your new Woodland appears.
Deciding When to Add Locations
Inside a Woodland, you can create one or more Locations to pinpoint specific storage spots, like “Entryway Drawer”, “Bookshelf Tier 2”, or “Blue Storage Bin”. Locations can be nested further, but you don’t need to over-complicate things right away.
Create a location when it genuinely helps you find things:
- If an item lives permanently in a specific drawer or bin, creating that location makes finding it effortless.
- If an item doesn’t have a fixed spot yet, save it directly to the Woodland first and assign a detailed location later.
- If a cabinet holds only a few items, simply name the location “Cabinet”—there’s no need to subdivide into “Top Left Tier”.
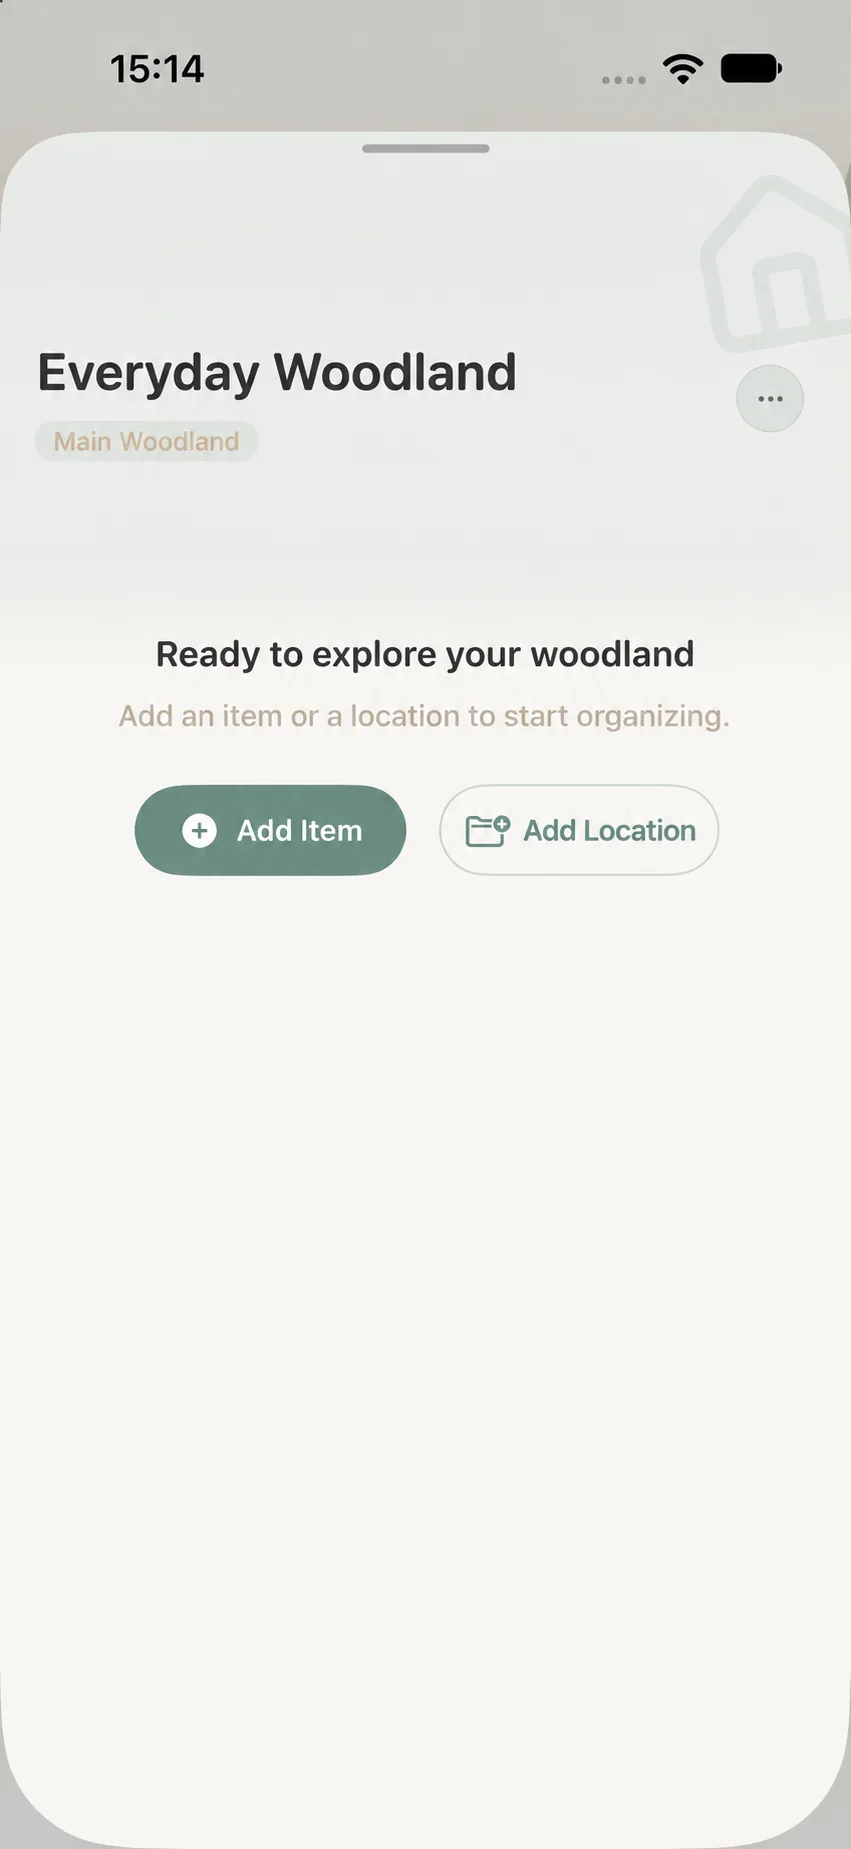
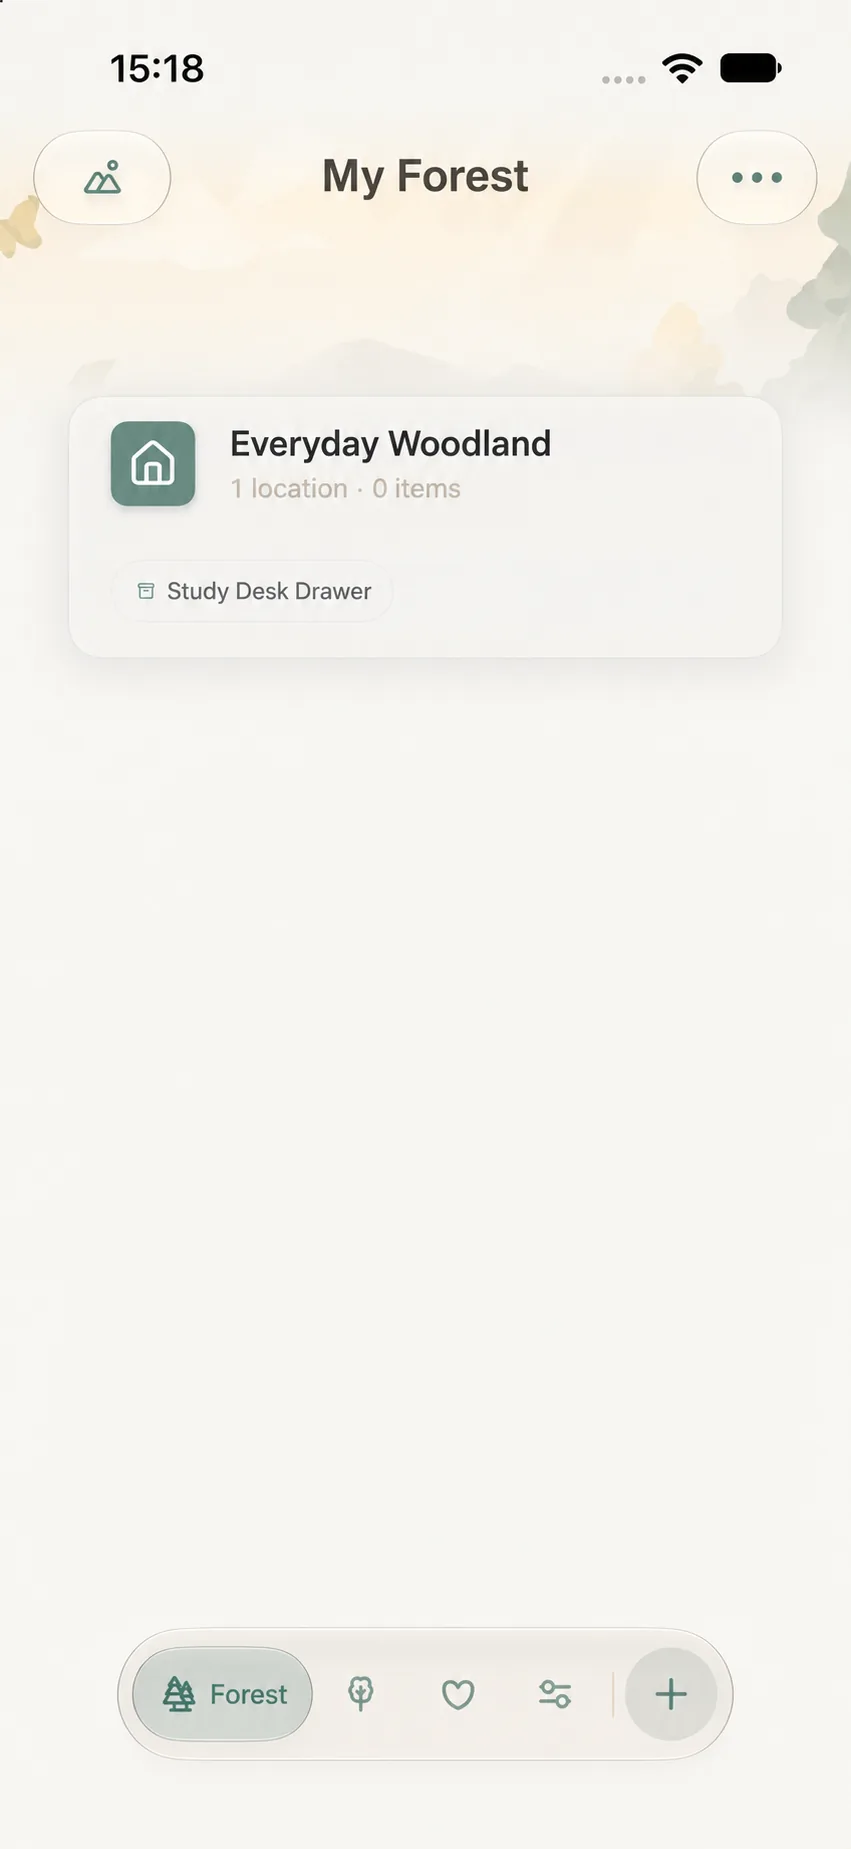
To add a location, open the target Woodland, tap Add Location, enter a name, and save.
A Gentle Beginner Example
If you want to start by organizing your study:
- Create a Woodland named “Study”.
- When you want more precision, add “Desk Drawer” or “Bookshelf” as Locations.
- When adding items, choose the corresponding Location. If you prefer to stay fast, you can simply record the item’s name first.
This allows your cataloging to take root immediately without having to map out your entire home beforehand.
Managing Your Woodlands Later
- Edit Name & Theme: Open a Woodland card, tap ··· and select Edit to update its name, icon, color, or photo.
- Pin Important Woodlands: In Forest list view, swipe left on a Woodland card and select Pin Woodland to keep it at the top of your list.
- Reorder Woodlands: In list view, tap ··· in the top-right and choose Reorder to drag Woodlands into your preferred sequence.
- Deleting with Care: Deleting a Woodland removes its nested locations and may affect items inside. Always export a backup and move items you wish to keep to another Woodland before deleting.
Next Steps
Now that your Woodland is established, proceed to Add Your First Item or explore Woodlands and Location Architecture.