Add Your First Item
Start by entering an item name, and learn when to enrich location, category, photos, and custom details at your own pace.
Page Overview
Start with One Item You Frequently Look For
The goal of your first entry is not to fill out every available field, but simply to experience saving and retrieving an item. Pick something practical—a spare charger, car key fob, passport, or favorite tool.
If you don’t have a Woodland yet, review Create Your First Woodland. When recording an item, choosing a Woodland and Location is completely optional; if you’re not sure where it will permanently live, just record its name first.
Opening the Add Item Form
- Tap Forest or Overview on the bottom bar.
- Tap the central + (Add) button.
- Select manual entry. (If you prefer to scan via camera, see AI Smart Eye Identification).
If you trigger the add action from inside a specific Woodland or Location, that path will be pre-filled automatically. Check the location bar before saving to confirm it matches your intention.
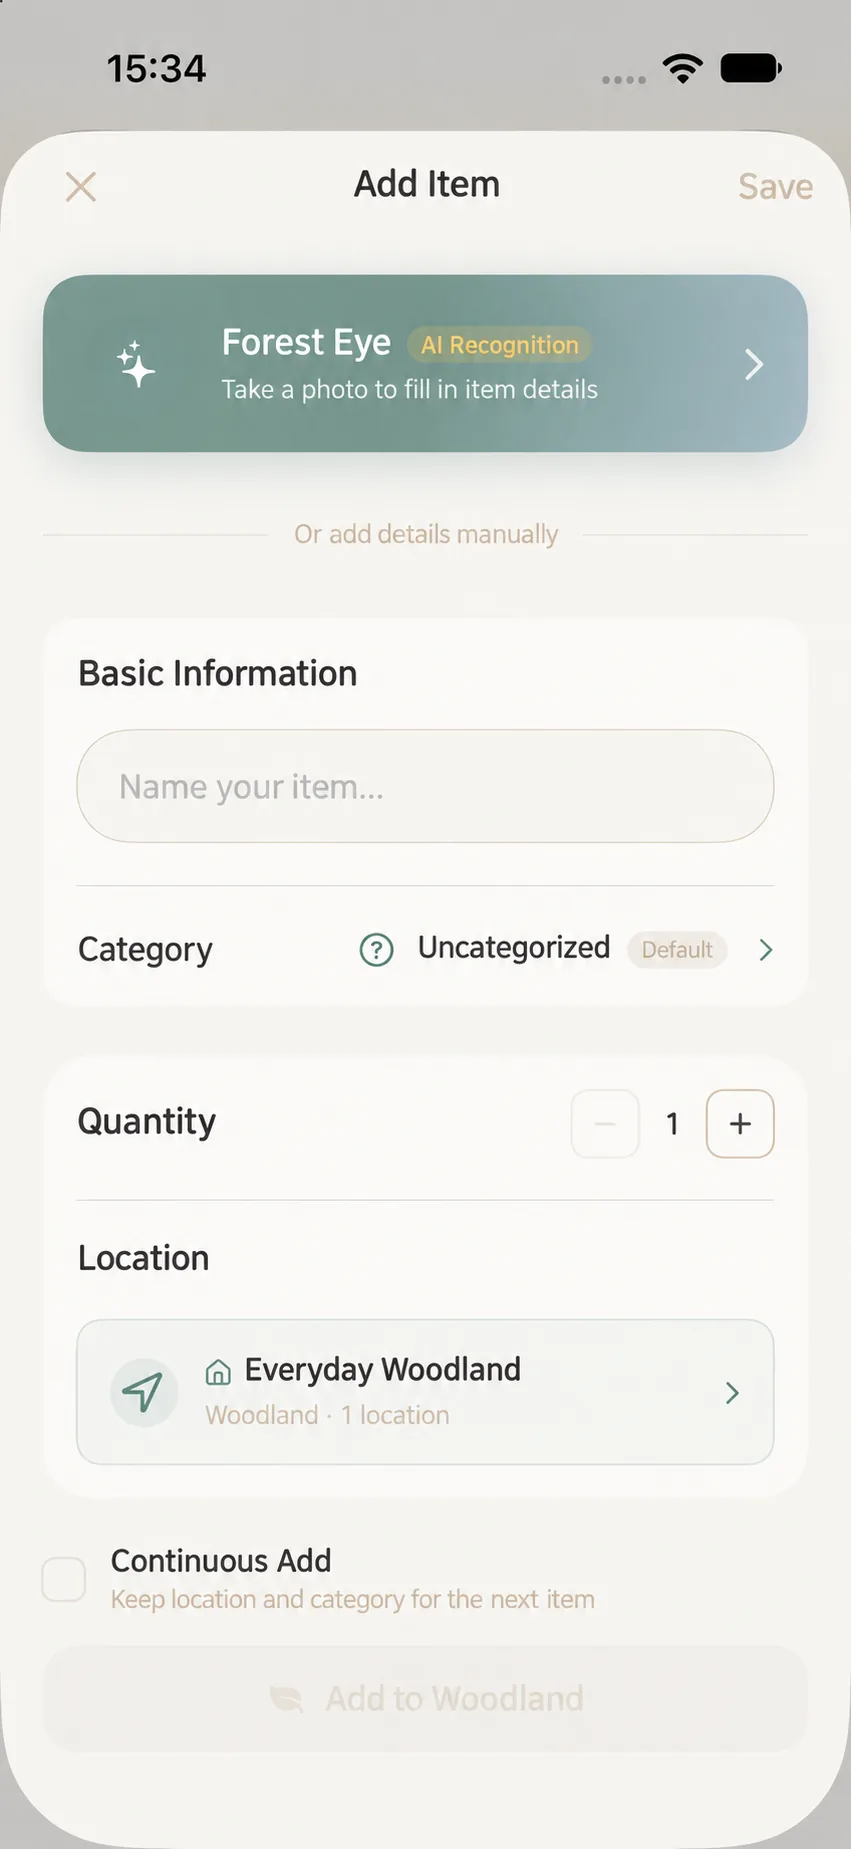
Minimum Required Information
Item Name
Start with the name. The name is the only strictly required field. We recommend using a searchable, descriptive name—e.g., “Black 65W USB-C Charger” rather than simply “Charger”.
Quantity
Quantity defaults to 1. Adjust it if you are tracking consumables like boxes of batteries or matching drinking glasses. If individual items need separate locations or warranties, create distinct records.
Location
Select the Woodland and Location if you have set them up. While a specific location makes finding physical items easier later, it is never a blocker to getting started.
Category, Photos, and Notes
Fill in these fields as they appear on your screen. Adding a photo helps visual recognition, but you don’t have to complete everything on day one. Selecting a category may reveal relevant custom fields.
Enriching Details as Needed
The form includes optional sections:
- Tags: For flexible search themes across spaces (e.g.,
#camping,#travel). - Its Story: Record sentimental notes, who gifted it, or where you bought it.
- Treasure Box: Attach receipts, warranties, manuals, or serial number photos.
- Expiry & Maintenance: Critical dates for food, cosmetics, or servicing.
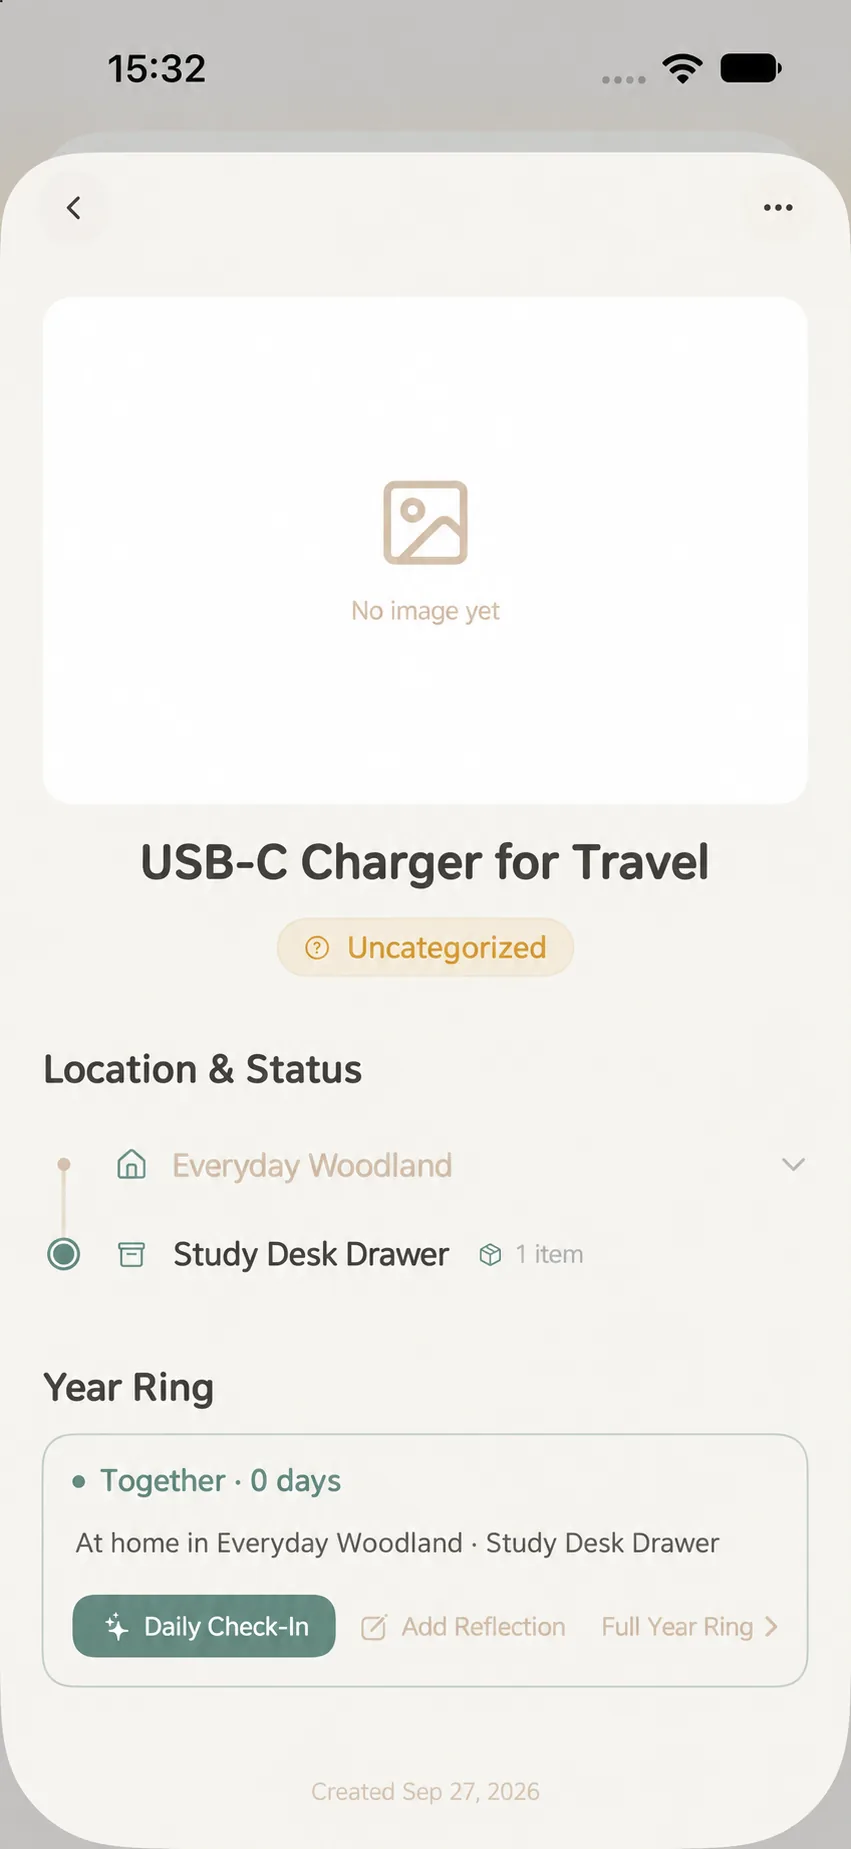
Saving and Verifying
- Verify your item name and assigned location.
- Tap Plant in Forest (or the save button) at the bottom.
- Once saved, return to your Woodland or Overview to confirm your new item appears.
Beginner FAQ
Do I have to create a location before adding an item?
No. You can save an item without a location and assign or update it anytime later.
Why doesn’t my screen match the screenshot exactly?
The form dynamically adapts based on the chosen category, active attributes, and iOS language settings.
What if the form stays open after saving?
Check whether Continuous Planting Mode is toggled on at the bottom of the form. When active, the form remains open so you can quickly enter the next item. See Continuous Add Mode.